How to Install a 24X24 Metal Garage: A Step-by-Step Breakdown
 September 23, 2021
Posted in: Metal Garages
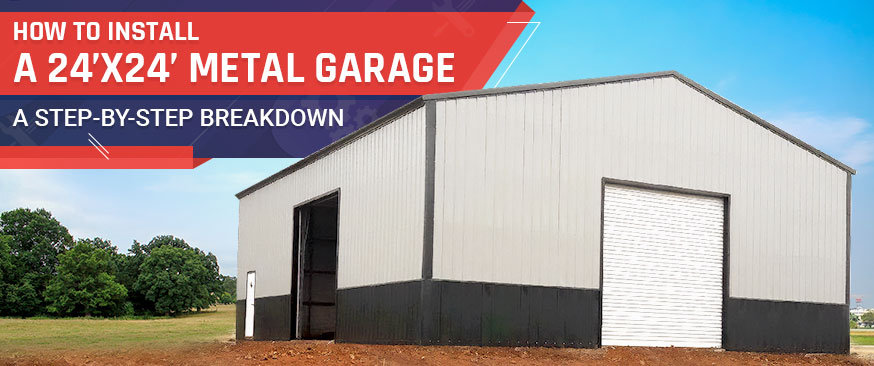
A car with hail damage isn’t attractive. Instead of sitting on the sidelines and watching helplessly as the elements pelt your vehicle, take action to guarantee this never happens to you. Your car may be like a baby, and you’re seeking a way to safeguard it or simply looking for more working space in your property; a 24×24 garage is an ideal way to make this happen.It also doesn’t require a professional and can be done easily by you or with the help of some friends if desired. Going DIY on your new garage is the best way to save time and money.
Pre-Build Considerations
Before getting started, consider a couple of things first:
- Order the correct size – Before you purchase a garage, it’s vital to make sure the size is correct. Unlike conventional garages that you can build at any desired length or width with no limitations, not all garages are manufactured equally and come in many different sizes. Therefore, when purchasing your metal building kit online, you need to know beforehand what size will suit your needs.
- Ensure you have enough space – As mentioned above, you can determine the size of a garage by the width and length of an individual’s property. If any are two close to each other, it might be difficult for them to fit in there nicely. So make sure that both sides can accommodate this before anything else.
- Installation permission – Make sure you have your building plans approved by the appropriate authorities before commencing. If it’s not, then you might encounter issues later on that can lead to severe complications regarding either zoning or safety standards.
- Weather conditions – Whether it’s rain or snow, the weather is something that will play a part in how long construction takes and what kind of materials you’ll need to use. Until you construct the roof, it can be difficult or near impossible for people on your property to work outside in rainy conditions, which means that you must first install an overhang before construction can continue. Otherwise, there’s a chance too much moisture could seep into the building and cause damage later on.
- Customization while ordering – When it comes to metal buildings, customization is often an option available as part of the initial order. This can include things like windows and doors, roof style, gauges for strength, and anchors used in securing your building from high winds; so if you have any specific requests, then make sure to mention them when placing your order.
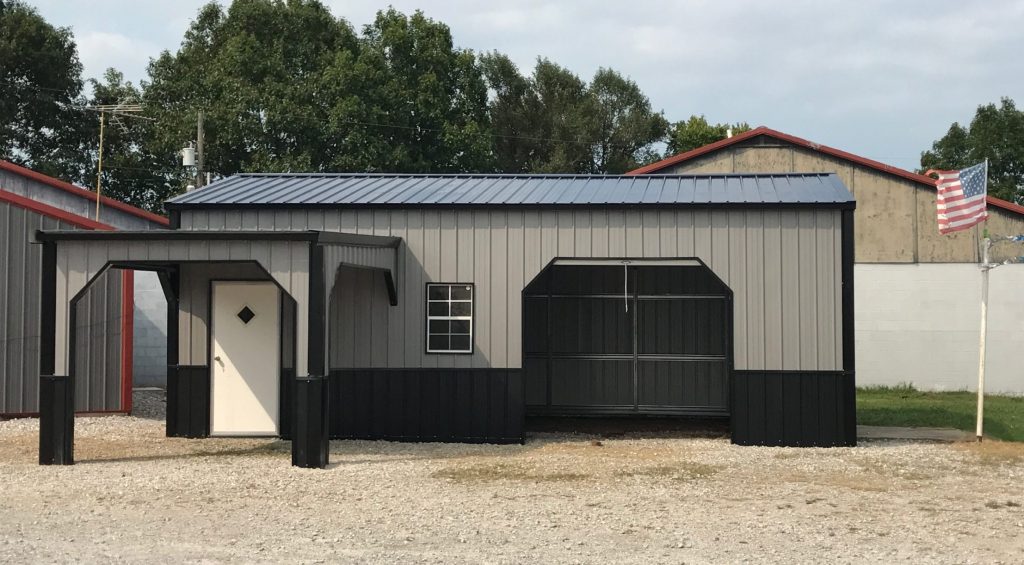
Step-by-Step Installation of 24×24 Garage
1. Build a foundation
Don’t bother with a concrete foundation for your garage – it’s too complicated and time-consuming. Instead, opt for gravel or asphalt (depending on what is most suitable). If you’re looking to save even more money without compromising safety in the slightest bit, then simply lay down some pieces of plywood (and make sure to cover them with a tarp) before placing your metal building on top.
2. Build your frame
Once you’ve chosen the foundation (or method of installation), it’s time to start building your frame. Having pre-made trusses simplifies the process.
3. Assemble the walls
Once you’ve built your frame, then it’s time to assemble the walls. Throughout this installation stage (and every other one), ensure that everything is level and measured carefully before cutting any angles or attaching pieces.
4. Install the outer sheathing
Once you’ve gotten to this step of the installation, then it’s time for some fun. You can place the outer sheathing on your garage in whichever way you’d like (vertically or horizontally), but don’t get too cocky and make sure that you properly secure everything with nails.
5. Install roof trusses
Once you cover all four walls in the sheathing, it’s time for us to move on to installing your roof trusses. This is a relatively easy step, but make sure that you measure everything carefully.
6. Finish the roofing
Once you have properly installed your trusses, you can move on to finishing the roof with some shingling.As long as there aren’t any holes left over from cutting angles or attaching pieces, then you’re good to go.
7. Add the shingling
Before you get to adding the shingling, don’t forget about your tar paper or shingles! You must adequately secure these pieces of material with nails before moving on.As for actually getting started with installing these materials, it all comes down to how much experience and practice you have in doing so.
8. Add the windows and doors
Before adding the windows and doors, make sure that there’s no leftover hole from cutting angles or attaching pieces. You should analyze window openings before getting started with installation – otherwise, it will be challenging for you.
9. Add the finishing touches
Once you’ve gotten through all of the previous steps, it’s time to add your finishing touches. This might include adding some shingles (if you haven’t done so already).
Mistakes to Avoid During Installation
Building a 24×24 garage isn’t something you want to do multiple times. So here are some common mistakes to keep an eye out for.
- Failure to Get Prior Approval
Most building departments require approval of your site work before you start the installation. Failure to get approval promptly could result in having to tear down and rebuild.
- Unprepared Job Site
No matter what kind of project you’re undertaking, it all comes down to the job site. Make sure that everything is clean before getting started on doing anything else! You don’t want dirt or dust flying everywhere while you work – not only will it make things harder for yourself but also much more difficult for your construction crew to get the job done.
- Not Reading the Building Plan Carefully
It doesn’t matter how good you think your construction skills are; if the building plan is not correct, it will cause some problems down the line. Make sure that everything matches up with what you’re trying to install before getting started on anything! If there are any differences, don’t hesitate to ask for a revision.
- Ignoring Safety Measures
There’s nothing worse than getting your project done and then realizing that you’ve made a mistake in the installation. Make sure to look over safety plans and procedures before starting anything! It will save you from potentially injuring yourself or others around you during the building process.
Why DIY is the Best Option
There are many reasons why you should consider doing your metal garage installation. The most important of these benefits is that they can save you a lot of money in the process. Still, there’s also the opportunity to learn new skills and enjoy yourself while getting things done with friends or family members who also have a passion for DIY projects. Installing a steel garage on your own is satisfying, and you’ll have plenty of time to do things your way.
Trust Get Carports for 24×24 Metal Garages and More!
You can save yourself money and learn new skills with DIY garage installation. If you’re unsure where to start, trust our team of experts at Get Carports for all your 24×24 garages needs!
We only use American-made steel in our products and are one of the nation’s largest dealers of metal buildings. Contact us today at (800) 691-5221 to get started on a project that will bring years of satisfaction; our dedicated team of design experts and consultants are here to help you through every step of the building process.
